
10 Things You Must Check Before Signing a Lease (Free Walkthrough Checklist)
By Sheetal, Lease Cleaning Adelaide·Sponsored
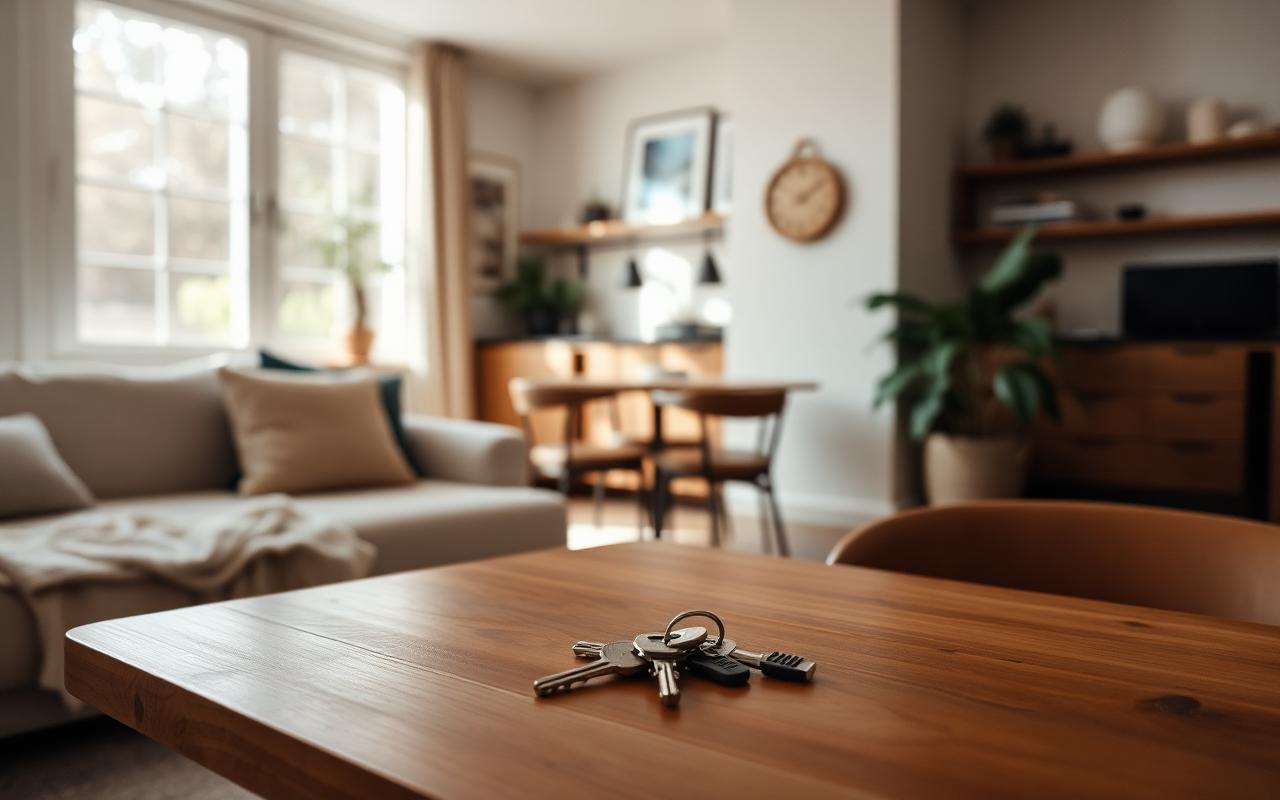
Finding a great rental in Australia is a huge win, but rushing through the initial inspection is a mistake plenty of tenants make—and usually regret later. Under Australian residential tenancy laws, you’re expected to leave a property in a "reasonably clean" condition when you move out, relative to how you found it.
Here’s the catch: if you move into a place that’s already covered in grease, dusty blinds, or hidden mold, proving that later becomes an uphill battle. If it isn't documented from day one, you could end up paying out of your own bond to fix someone else's mess.
Whether you're touring an apartment this weekend or picking up the keys, take a breath and run through these 10 crucial checks before signing that lease or handing back your condition report.
## 1. Water Pressure and Hidden Leaks
Head straight to the bathroom and kitchen. Turn on the taps in the sink and shower at the same time. You want to see strong water pressure and test how quickly the hot water kicks in. While the water is running, pop open the cabinets underneath with your phone torch. Look for active drips, damp smells, or warped timber, which are classic signs of ongoing, unaddressed plumbing leaks.
## 2. The Kitchen "Deep Clean" Zone
Property managers use your initial inspection as the benchmark for your eventual move-out clean. Take a close look inside the oven—is it coated in baked-on grease? Reach up and check the rangehood filters to see if they're choked with oil. Check the rubber seals on the dishwasher and microwave too. If these areas are grimy now, snap photos and note them on your report so you aren't forced to scrub them on your way out.
## 3. Mould and Ventilation
Mold disputes are extraordinarily common across Australian rentals, especially during humid summers or wet winters. Inspect shower screen edges, ceiling corners, and window sills for dark spots. Turn on the bathroom and kitchen exhaust fans to make sure they actually draw air and aren't clogged with years of dust. Open a few windows to check that fresh air actually circulates through the property.
## 4. Wall Marks and Baseboard Dust
Walk around the perimeter of each room. Look closely for scuffs, small nail holes, adhesive marks, or hairline cracks in the plaster. Don't forget to look down: are the skirting boards, door frames, and light switches free of heavy grime? Timestamped photo evidence of every existing scuff is your best insurance policy against bogus bond claims down the road.
## 5. Carpets and Flooring Conditions
Get down near the carpet and check for lingering pet odors, hidden stains, or worn patches near doorways. Run a hand along the baseboards to see if dust and grit have built up over time. If you’re dealing with hard floors, check for loose tiles, deep scratches, or timber floorboards that have warped from past water exposure.
## 6. Outlets and Light Fixtures
Bring a small phone charger with you to test random power points around the property. Switch on every light, ceiling fan, and heating unit. Note any blown globes or loose fittings straight away. If the place has an air conditioner, pop the front panel open to check if the filters are caked in dirt—a dirty filter makes the unit work twice as hard and drives up your electricity bill.
## 7. Window Tracks and Screens
Window tracks are notorious trap spots for dead insects, grime, and mud. Slide every window and balcony door back and forth to ensure they move smoothly without jamming. Check that blinds, curtains, and flyscreens are intact—torn screens mean unwelcome summer pests will find a way in.
## 8. Security and Key Sets
Check deadbolts, window latches, and locks on outside doors to make sure they latch properly. The law in Australia requires landlords to provide a safe home for their tenants. Ask the agent how many sets of working keys, swipe cards, or garage remotes you will receive on move-in day.
## 9. Cupboard Interiors and Built-ins
Don't just look at the outside of wardrobes and kitchen cabinets—open every drawer and door. Check for dust accumulation, crumbs of food left by past tenants, or evidence of insect activity. Make sure the drawer runners glide easily, and the cabinet handles aren’t wobbling off their threads.
## 10. Balconies, Garages and Bins
Go outside and look at the outdoor spaces. Check balcony ceilings for cobwebs, garage concrete for oil stains, and the condition of the council wheelie bins. Ensure the bins are empty, clean, and on site before you take possession of the property.
## Why Starting Fresh with a Move-In Clean Matters
If your walkthrough uncovers a place that feels a bit neglected, you don't have to live with it. While property managers are required to hand over a home in a reasonably clean state, "clean" means very different things to different people.
Unpacking your clothes, bedding, and kitchenware into spaces left dirty by strangers isn’t a great way to start a lease. Professional move-in cleaning is a game changer, especially with your furniture coming:
* Complete Sanitation: Kitchen counters, door handles, and bathrooms, among other high-touch surfaces, are thoroughly sanitized to eradicate any lingering germs and bacteria.
* A Bulletproof Baseline: A professional clean removes superficial dirt, showing any serious wear and tear or pre-existing damage on your condition report. This gives you a bulletproof baseline.
* Zero Move-In Stress: Skip the first weekend of oven scrubbing and track mark vacuuming and move right into unpacking and settling into your new neighborhood.
Your deposit was protected from day one. Take your time on the walk-through and make note of every little issue. When you start your tenancy with a truly clean home, you set yourself up for a smooth, stress-free renting experience all the way through.
Sponsored disclosure: This article was paid for or contributed by a third party. Views are the author’s own and don’t represent an endorsement by Happy House Guide.