
5 Things Tenants Always Miss During Bond Cleaning (And How to Fix Them)
By Jugraj, Bond Cleaning in Ipswich·Sponsored
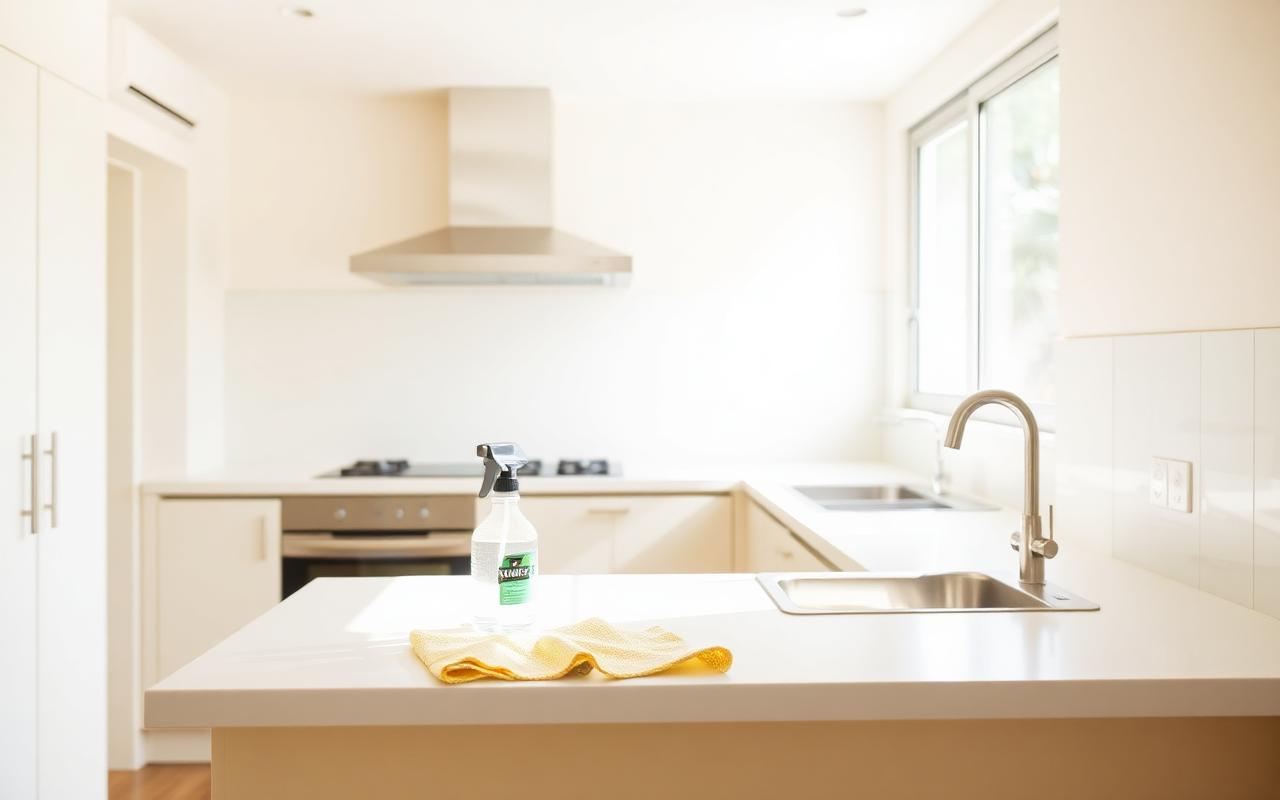
Moving house is right up there with public speaking on the stress spectrum. Between packing up your entire life into cardboard boxes, organizing movers, and trying to figure out which box holds the kettle, the last thing you want to deal with is a fight over your bond money.
In Australia, tenancy laws state you need to hand back the rental in a reasonably clean condition, matching your original entry report (minus fair wear and tear).
Most renters work up a serious sweat, giving the place a good once-over. You vacuum the carpets, wipe down the kitchen counters, and mop the floors. But here’s the catch: property managers don't just glance around the room. They carry detailed inspection clipboards and know exactly where grime hides. It’s almost never the living room floor that costs tenants their deposit—it’s the small, forgotten spots.
If you’re getting ready to hand back your keys, here are five areas tenants regularly miss, along with simple ways to tackle them yourself.
## 1. The Hidden Kitchen Traps (Ovens, Range Hoods & Fans)
The kitchen gets the toughest workout during an exit inspection. Even if the stovetop looks shiny, property managers will open doors and look straight up.
### What gets missed:
* Baked-on grease inside the oven glass and along the wire racks.
* Sticky oil residue coating the mesh filters inside the range hood.
* A thick blanket of dust and grease resting on top of the ceiling exhaust fan.
### How to fix it:
* The Oven: Skip the quick surface wipes. Coat the interior with a heavy-duty oven cleaner or a thick paste of baking soda and water. Let it sit for a few hours (or overnight) to soften the burnt crust before scrubbing with a non-scratch pad. If your oven door glass unclips, take it apart carefully to clean between the glass panels.
* Range Hood Filters: Pop out the aluminum mesh filters and soak them in a sink of boiling water mixed with dish soap and washing soda for 15 minutes. A gentle brush will slide the grease right off.
* Exhaust Fans: Turn off the wall switch, carefully unclip the plastic cover, and wash it in warm soapy water. Wipe down the fan blades before clicking the cover back into place.
## 2. The Dust Collectors (Window Tracks, Blinds & Skirting Boards)
Dirty window sills and dusty skirting boards are immediate red flags for property managers. They signal that the clean was rushed.
### What gets missed:
* Dead bugs, dirt, and black grime jammed into narrow sliding window tracks.
* Layered dust sitting on top of individual blind slats.
* Dust and scuff marks resting along the top edge of skirting boards in every single room.
### How to fix it:
* Window Tracks: Vacuum out loose dirt first using a thin nozzle attachment. Sprinkle a little baking soda, spray lightly with white vinegar, let it fizz for a couple of minutes, and wipe away the sludge using a cloth wrapped around an old toothbrush.
* Blinds: Don't just run a feather duster over them—that just scatters dust around. Microfiber gloves or a damp cloth work best to wipe each slat individually.
* Skirting Boards: Run a vacuum brush along all the edges throughout the home, then follow up with a damp cloth mixed with a splash of sugar soap or mild dish detergent.
## 3. High-Touch Points & Ceiling Fixtures
It's easy to keep your eyes at chest height when cleaning, but inspectors look in every direction.
### What gets missed:
* Dead insects sitting inside glass light shades.
* Thick layers of grey dust sleeping on top of ceiling fan blades.
* Grimy, oily fingerprints smeared around light switches and power points.
### How to fix it:
* Ceiling Fans: Here's a handy trick: slide an old pillowcase over each fan blade and pull it back toward you. All the dust drops straight inside the pillowcase instead of raining down onto your freshly cleaned floor. Finish with a quick wipe down using a damp cloth.
* Light Fittings: Unclip or unscrew glass light covers, tip out any bug debris, wash the glass in warm soapy water, dry thoroughly, and put them back.
* Switches & Plugs: Lightly wipe around wall switches and power outlets with a damp microfiber cloth. Never spray liquid directly onto electrical fittings!
## 4. Bathroom Detail Work (Grout, Silicone & Drains)
Bathrooms take a beating from daily steam, soap residue, and moisture. While shiny tiles look nice, inspectors pay close attention to the details.
### What gets missed:
* Orange soap scum or dark mold spores embedded in vertical grout lines.
* Discolored silicone sealant running along the base of the shower or bath.
* Hair, trapped soap, and foul smells lingering inside floor drain grates.
### How to fix it:
* Grout & Silicone: Spray a dedicated mold remover or apply a thick paste of baking soda and hydrogen peroxide. Let it dwell on the grout lines for 20 minutes before scrubbing with a stiff-bristled brush. (Keep in mind: if silicone sealant is permanently stained deep behind the seal due to age, it often falls under fair wear and tear—but surface mold needs to come off).
* Drains: Lift off the drain covers in the shower and basin. Pull out any hair buildup, scrub the grate clean, and pour hot water mixed with a squirt of cleaning gel down the pipe to clear away odors.
## 5. Outdoor Areas, Garage Floors & Walls
When you're exhausted from scrubbing the inside of the house, it's tempting to forget about the outside entirely.
### What gets missed:
* Scuff marks, handprints, and cobwebs around internal door frames and hallway walls.
* Thick cobwebs under eaves, outdoor light fixtures, and patio ceilings.
* Fresh oil spots on garage concrete or dirty balcony floors.
### How to fix this:
* Walls & Frames: Lightly spot-clean marks with a damp microfiber cloth and sugar soap. Don't rub off the paint finish. Use flat latex paint sparingly.
* Outdoor Spaces: Grab an outdoor broom or cobweb duster to sweep down balconies, patios, and garage corners. Clear away all webs around external light fittings and door frames.
* Garage Floors: Throw down some kitty litter or sawdust over fresh oil spills to soak up the grease, then scrub the spot with a stiff broom and a heavy-duty degreaser.
## The Big Question: DIY Clean or Call the Pros?
Tackling these details on your own is completely doable if you have the time, energy, and right cleaning supplies. But let’s be honest: after packing up an entire household, spending two full days on your knees scrubbing window tracks and ovens is exhausting.
Because Australian property managers expect high standards, missing just a couple of these areas can mean going back to re-clean or delaying your move-out schedule.
### Why Do Many Renters Choose Professional Bond Cleaning?
Want to save your sanity and take the physical workload off your hands? Using a professional bond cleaning team is usually a sensible choice:
* Real Estate Checklists: Experienced cleaners use detailed room-by-room inspection checklists used by local real estate agencies.
* Pro-Grade Equipment: Heavy-duty steam extractors and commercial degreasers provide a deep clean that standard supermarket sprays can’t match.
* Re-Inspection Assistance: A good cleaning company will come back and address any particular cleaning issues raised by your property manager during the exit inspection.
* No Move-Out Stress: Hand over the keys and focus on moving into your new home without aching arms and dirty knees.
## Ready to Move Out Smoothly?
Don’t let baked-on oven grease or dirty window tracks stand in the way of a successful handover. Whether you decide to roll up your sleeves with this guide or hand the heavy lifting to the experts, paying attention to these five tricky spots will ensure your rental inspection goes as smoothly as possible.
Planning your upcoming move? Take the hassle out of your handover! Call our professional bond cleaning team for a quick free quote today.
Sponsored disclosure: This article was paid for or contributed by a third party. Views are the author’s own and don’t represent an endorsement by Happy House Guide.